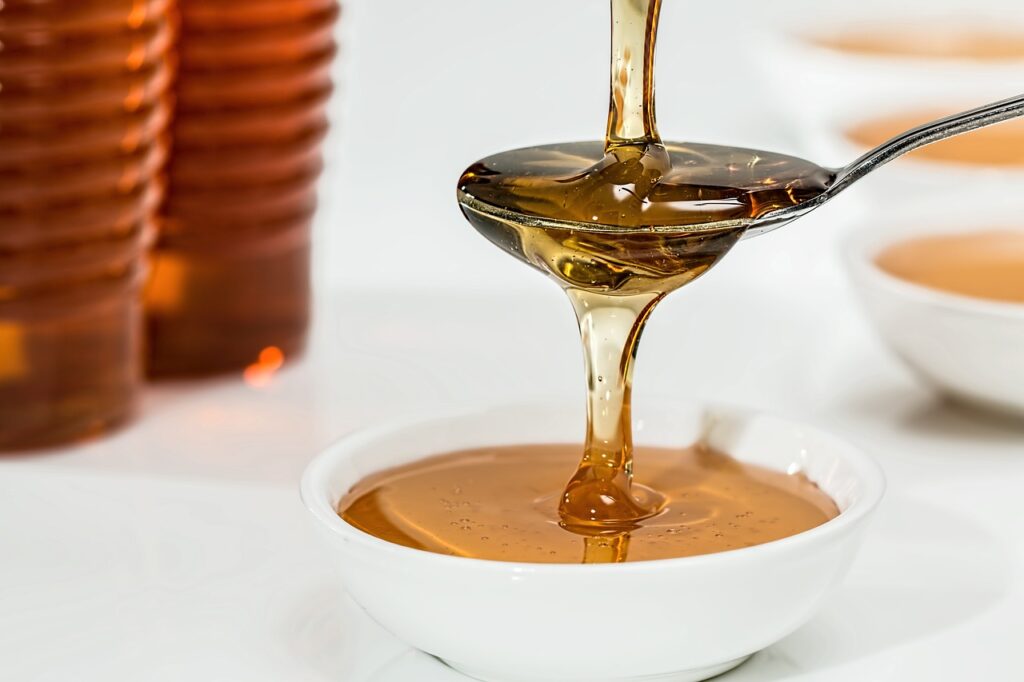
Embark on a journey back in time as we delve into the exquisite world of traditional honey mead, a delightful concoction crafted from the simplest of ingredients – honey, water, and yeast. Dating back thousands of years, mead holds a rich history as one of the world’s oldest fermented beverages, beloved for its unique taste and versatility. Join us as we explore the art of making traditional honey mead with this step-by-step guide that will have you savoring the sweet nectar of your own creation.
Ingredients:
– 3-4 pounds of honey (quality raw honey for a richer flavor)
– 1 gallon of water (preferably filtered)
– 1 packet of wine yeast (choose a yeast strain that complements the flavors of honey)
– Optional: fruits, spices, or herbs for added flavor complexity
Equipment:
– Large pot
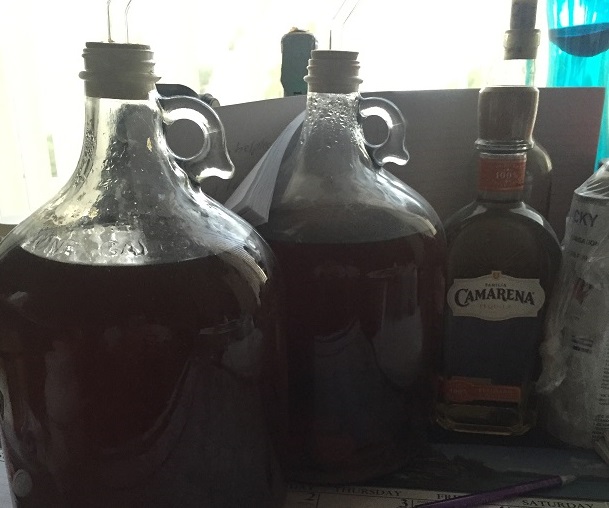
– Fermentation vessel (glass carboy or food-grade plastic bucket)
– Airlock
– Funnel
– Hydrometer (for measuring sugar content)
– Bottles for storing the finished mead
Step 1: Prepare the Must
1. In a large pot, combine the water and honey over medium heat, stirring until the honey dissolves completely. Avoid boiling the mixture to preserve the delicate flavors of the honey.
2. Once the honey-water mixture (known as “must”) has cooled to room temperature, transfer it to your fermentation vessel using a funnel.
Step 2: Pitch the Yeast
1. Sprinkle the wine yeast over the surface of the must and gently stir to distribute evenly. The yeast will kickstart the fermentation process, converting the sugars in the honey into alcohol.
2. Seal the fermentation vessel with an airlock to allow carbon dioxide to escape while preventing external contaminants from entering.
Step 3: Fermentation and Aging
1. Place the fermentation vessel in a cool, dark area with a consistent temperature (around 60-70°F) to ferment undisturbed. Fermentation typically takes 1-2 weeks, during which the mead will develop its alcohol content and flavors.
2. After primary fermentation is complete, you can choose to transfer the mead to a secondary fermentation vessel for aging. This step allows the flavors to meld and mature over time, enhancing the complexity of the finished mead.
Step 4: Bottling and Enjoyment
1. Once the mead has reached your desired level of clarity and flavor development, it’s time to bottle it for storage and consumption. Use sanitized bottles to preserve the quality of your mead.
2. Allow the bottled mead to age further in a cool, dark place for a few months to a year, as its flavors continue to evolve and improve with time.
3. When ready, chill your mead and savor the fruits of your labor – a golden elixir brimming with the essence of honey and the magic of fermentation.
Customization: Experiment with various honey varieties, additional fruit infusions, or spice blends to create unique mead flavors that cater to your taste preferences. Embrace the creative freedom that traditional honey mead-making offers, and let your imagination guide you to delightful new concoctions.
Unveil the ancient art of crafting traditional honey mead in the comfort of your home, infusing each batch with your passion and creativity. Elevate your brewing skills with each step, and relish in the joy of sharing your handcrafted mead with friends and loved ones. Join the ranks of mead-makers throughout history and toast to the timeless allure of this enchanting beverage.